A couple of days ago, for the first time, I broke out my mom's sewing machine. As I set it up on my kitchen table and started to remove the black thread she had on it, I couldn't help but wonder what it was that she last sewed using black thread. Maybe hemming my dads pants, or sewing one of the many dolls she made our kids? I'll never know, but it was lovely to use something of hers, it made me feel close to her.

But I digress...
If you read my
Art Closet Reveal post awhile back, you'll remember that I showed you the sewing machine that I was given after my mom passed away last year. Years and years ago I had learned the basics of sewing but it had been so long that really, technically I didn't know how to sew. But since getting her sewing machine I've felt determined to learn, and to my surprise, little things that my mom had taught me started coming back to me.
So now, I am so excited to show you the pillow covers I made! I have been wanting to sew pillows for awhile now, especially after reading Ashli's envelope pillow tutorial. She states that it is easy and she's right (I mean once I learned how to actually use the machine it was easy!).
So now I will share with you my sewing adventure (which yes, includes several FAILS before getting it right!):
Starting with the square pillow forms. The size of my pillows were 18" (they were only $5.99 each at Ikea). This tutorial is for making 18" envelope pillows but for other sizes go to Ashli's blog and she has listed the measurements for several different sizes.
First, measure and mark your fabric at 40" in length and 18" in width (this is for one pillow). I had enough to make 3 pillows with a yard and a half of fabric (but I only made 2).
Cut your fabric to size.

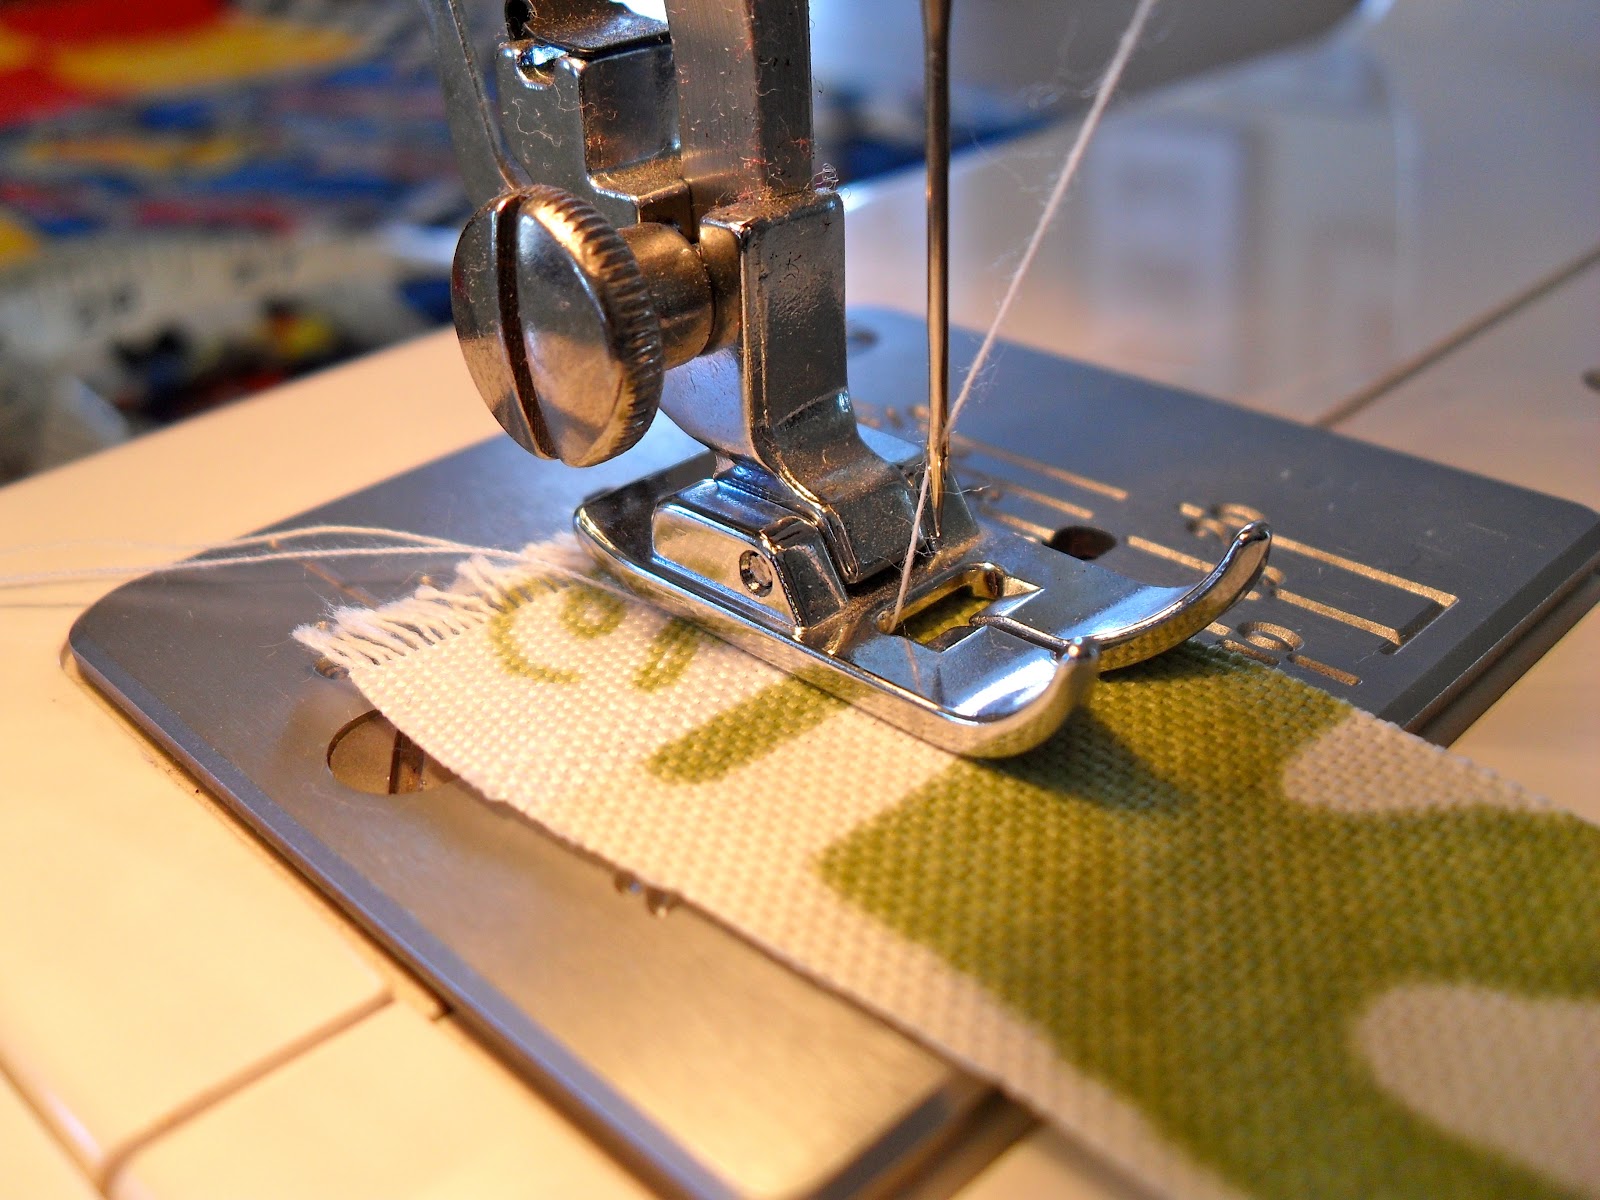
On the end of each long side, fold over the edges 1/4", pin in place and iron down to keep the fold.

Then sew a straight, simple hem. Sure! No Problem!
First attempt...FAIL!
So I un-stitched it and tried again...FAIL!
I could not figure out why I couldn't keep it in a straight line...it felt like I had no control over it when it was moving through the machine. So I sat and stared at the machine for awhile (queue in "Jeapardy" music). Then it came to me...AHA!!
I had been sewing like this:
And I should have been sewing like this:
Go ahead and take a moment to laugh at me...I know I did (and I'm sure my mom did too!).
After I found the lever to place the presser foot down (I just 'googled' the name..hehe) I did so much better, if I do say so myself! Finally...a straight line! Yay!
Okay, now that you've hemmed both ends, you need to measure 11" in from each end and then fold at the mark each end towards the centre, there should be an overlapping of about 3 1/2". Sew the sides together and iron. Then turn it right side out and it will look like this:
Stuff your pillow inside and voila! You have some pretty awesome pillow cases.
They have certainly brightened up our very brown living room! With some of the extra material I'm planning on making a runner for my coffee table. In the photo below I was just trying it out to see how it would look, but it still needs to be hemmed...with lovely straight lines!
The name of the fabric I used is Waverly Parterre Grass and it is an indoor or outdoor fabric.
 You can find this post linked up at these awesome blogs:


![]()


![]()


 On the end of each long side, fold over the edges 1/4", pin in place and iron down to keep the fold.


Your fabric choice is great! I need to make a pillow case like this one and I love your matching runner too:)
ReplyDeleteToday, I see spring everywhere - I can almost feel it ;) The pillows turned out awesome!
ReplyDeleteWOWZA what a fantabulous job!!! YOUR GOOOOD!!! www.scrappyrae10.blogspot.com
ReplyDeleteThanks for the sewing lesson ... I'm fairly challenged in that area! Maybe I'll give this a try though!
ReplyDeleteLove the pillows. They look great !
ReplyDeleteThanks for the sweet comment on my blog! I love these pillows and the fabric is so pretty! They turned out great.
ReplyDeleteThis fabric is absolutely Gorgeous!!! Thanks for sharing this tutorial!! I love it!
ReplyDeleteKatie @ Little Becky Homecky
http://littlebeckyhomecky.blogspot.com
Just popped over from The 36th Avenue link party. Such a charming result and great tutorial!
ReplyDeleteKelly @ herringbone lane
Hello Cath,
ReplyDeleteI linked over to your blog from Somewhat Simple’s link party. I love the new look in your living room, the pillows and runner add a fresh spring look to the room. Job well done.
Smiles, Paula
I just covered a chair in the same fabric! Such a fun and bright choice.
ReplyDeletehttp://shabbysweettea.com
Beautiful, Cath! I've always wanted to learn to sew...maybe one day! Enjoy the weekend! Angie
ReplyDeleteLOVE IT!!!
ReplyDeleteI love the play by play, "it was because I was sewing like this" "when I should have been sewing like this" too funny!
Love your post!
And thank you for the shout out!
Lots of Love
Ashli
Beautiful and easy, sounds like a win to me. I feel like I'm learning to sew everytime I whip out my machine, guess that means I don't get it out often enough. Great job.
ReplyDeleteKaren @ ItsAllGoodHome.com
Love your pillows- the color is so fun! gonna include these in my weekly wow's on sunday. come by if you can!
ReplyDeleteLaura
Outstanding job! I love new pillows!
ReplyDeleteHope you'll come link up this post at my blog, Gabriel's Good Tidings. The party is going on now!
Amy
http://gabrielsgoodtidings.blogspot.com
Beautiful! I love the fabric, it says SPRING to me!
ReplyDeletexoxo
twentyfour7
Great design Cath! I especially love the idea of the pocket; it would be so easy to change the fabric cover with the seasons. Thanks for sharing!
ReplyDeleteKate
www.kidsenRoute.com
love those big fluffy pillows and these are so right for the greening of spring come see me at http://shopannies.blogspot.com
ReplyDeleteThese are such fun spring colors!! Thanks for linking up to our "Strut Your Stuff Saturday." We would love to have you back!! -The Sisters
ReplyDeleteWell I'm not gonna lie...I did chuckle!! But hey they turned out beautiful!
ReplyDeleteThanks for linking them up to Show & Share...featuring them tomorrow!
Beautiful job!! :) I pinned this tutorial. Megan ~ your newest follower.
ReplyDeletethanks so much for your kind comments on my St Patty's Day wreath!! totally loving these pillows :) I definitely made similar covers recently- love how simple they are!! and they make such a big impact in a room- instant decor change :)
ReplyDeleteSuper cute!!!! LOVE that fabric!
ReplyDeleteBeautiful pillows Cath! Your Mom would be proud! Angie xo
ReplyDelete