Showing posts with label Sewing. Show all posts

Monday, March 26, 2012

A Layered Skirt Tutorial

I'm Back!  The kids had 2 weeks off for Spring Break and are back to school today.  One of the fun projects I worked on over spring break was sewing a skirt with my bonus daughter, Leo.  (We say "bonus" instead of "step"...Cinderella totally ruined that for all "step" people in this world...haha!).

I apologize in advance for the poor quality photos.  My camera broke and I was using an Iphone.


This past weekend, my sister-in-law, Anna, gave me a big bag full of fabrics (now that I am a sewing extraordinaire), so Leo and I had fun going through it and brainstorming on what to make with it all.  Here's our conversation:
Me: How about we sew some napkins or coasters, that's a nice simple project to try.

Leo: I've always wanted to try sewing a skirt!

Me: Oh!  A skirt..he he...I have no idea how to do that, I've only ever made pillow covers.

Leo: A skirt would be fun, we can use these 2 materials, they look so cool together!

Me: (reluctantly)..well I suppose I could google how to make a skirt.

Leo: A layered skirt!

Me: Layered?  How about we start with a simple skirt?

Leo: No...a layered one would be cool!  We can do it!

Me: Uh...ok....a layered skirt it is...(eeek!)

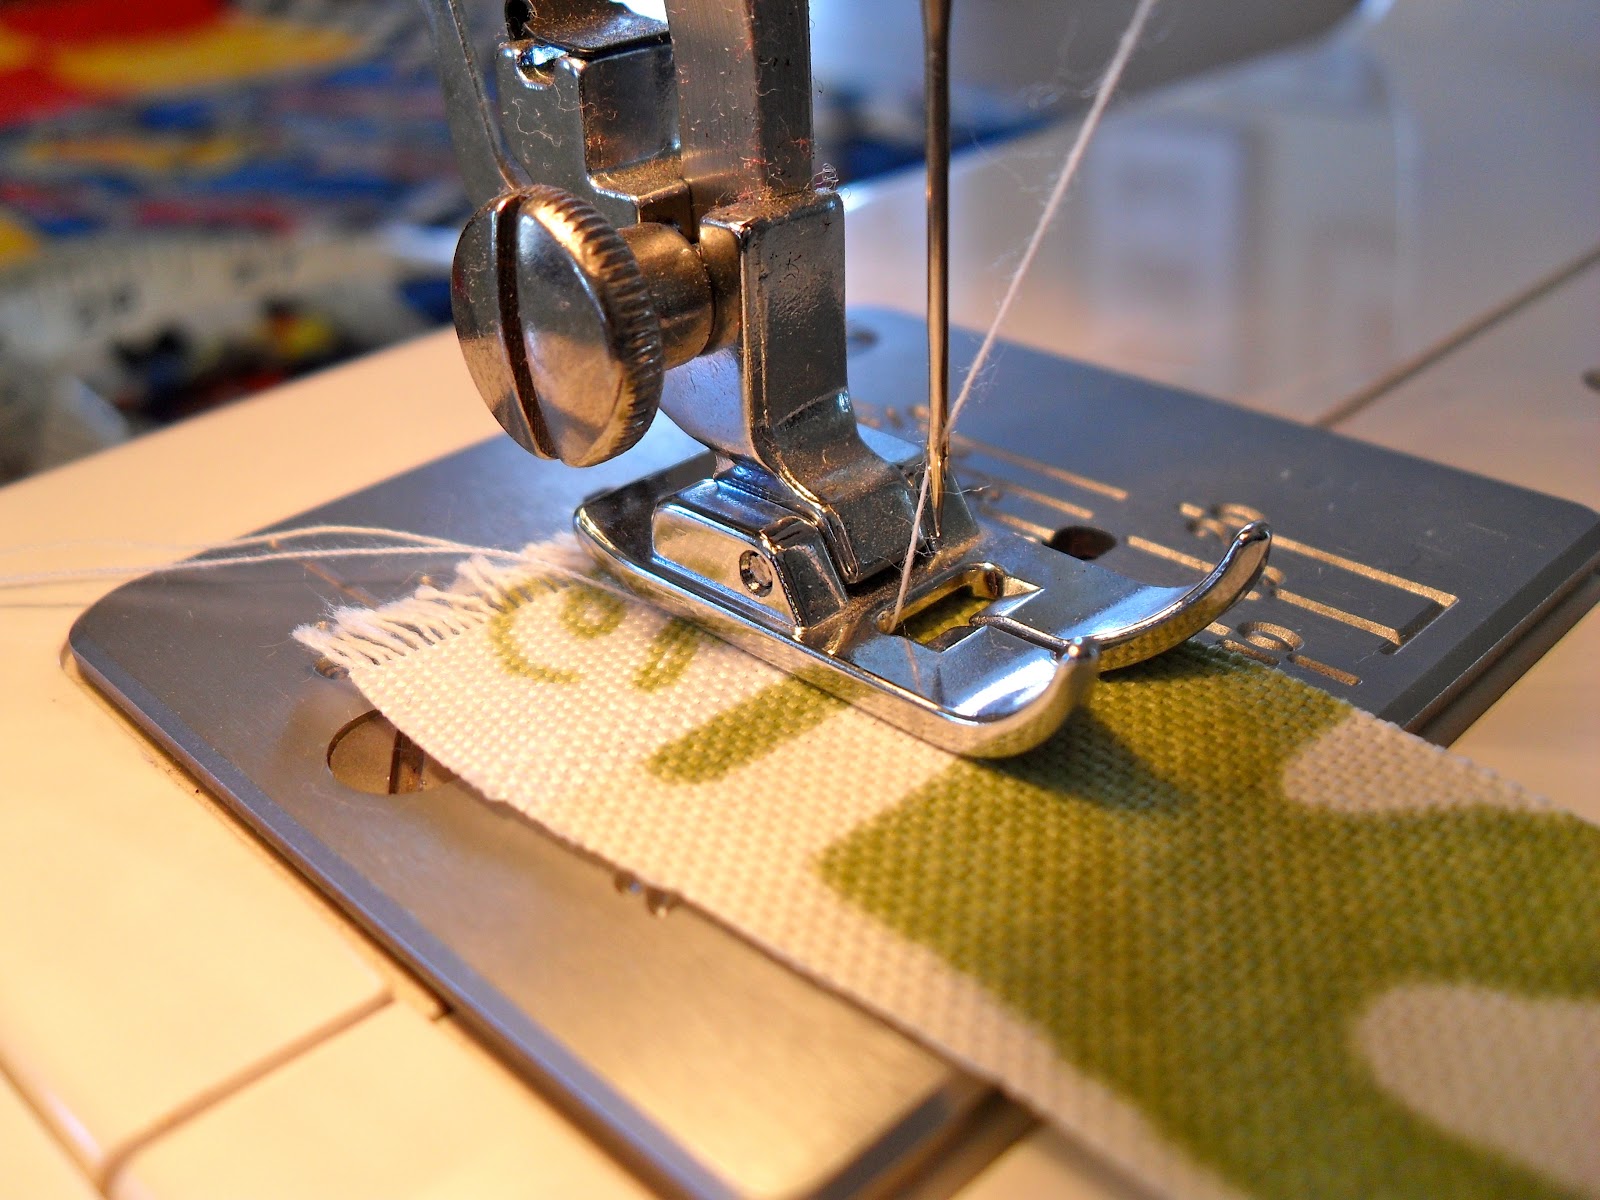
And guess what?!  We did it!  (Thanks for believing in me Leo!)  We followed the tutorial over at Make it and Love it (and she has AWESOME photos!).  Her tutorial is easy to follow and I totally recommend you go check it out.  I do kind of giggle when I see she calls this a "basic" skirt and that "it came together so quickly, make 5 more!"  I'm sure it's true for a seasoned sewer, but I am a beginner so mine took hours to make, but the next one will be faster!  Rome wasn't built in a day!  Practice Practice right?!

What's really cool is that the skirt is made from 3 strips of fabric each one a different measurement.


The measurements on Make it and Love it are for a 5 year old, Leo is 13 and here are the measurements we used for her:

Measure waist. (Leo's waist was 29")
For the top tier multiply the waist x 1.5 (Top Tier: 43.5")
For the middle tier multiply the waist x 2 (Middle Tier: 58")
For the bottom tier multiply the waist x 2.7 (Bottom Tier: 78.3")

Cutting:


Ironing:


Sewing:

This is where Leo abandoned me and left me to shed blood, sweat and tears to get the skirt finished.  Okay fine, she went out on a date with her dad for her birthday, but it doesn't make me feel any less abandoned!  As she's leaving, she casually says to me.."you can keep working on the skirt if you want.."  

My bonus son was laughing at me, as I once again had to rip out a seam I had made and grumbling under my breath..."I wanted to try a simple skirt, but oh no, it had to be complicated!"  LOL!!  But I was just joking around...(kind of).

Here is the finished product:
 My cute little model:


Kind of impressed with Leo and myself right now.  Yup.


Pin It


I am linking up with these fabulous blogs:

The Southern Institute Craft & Tell Sumo's Sweet Stuff Keeping It Simple The DIY Show Off mop it up mondaysOrganize and Decorate Everything Tuesday To Do PartyToday's Creative Blog Tip Junkie handmade projectshomework HookingupwithHoHSomewhat Simplemade in a dayshabby creek cottageThe 36th AvenueCatch a Glimpse Button

Wednesday, March 07, 2012

Spring Pillows!

A couple of days ago, for the first time, I broke out my mom's sewing machine.  As I set it up on my kitchen table and started to remove the black thread she had on it, I couldn't help but wonder what it was that she last sewed using black thread.  Maybe hemming my dads pants, or sewing one of the many dolls she made our kids?  I'll never know, but it was lovely to use something of hers, it made me feel close to her.

But I digress...  

If you read my Art Closet Reveal post awhile back, you'll remember that I showed you the sewing machine that I was given after my mom passed away last year.  Years and years ago I had learned the basics of sewing but it had been so long that really, technically I didn't know how to sew.  But since getting her sewing machine I've felt determined to learn, and to my surprise, little things that my mom had taught me started coming back to me.


So now, I am so excited to show you the pillow covers I made!  I have been wanting to sew pillows for awhile now, especially after reading Ashli's envelope pillow tutorial.  She states that it is easy and she's right (I mean once I learned how to actually use the machine it was easy!).

So now I will share with you my sewing adventure (which yes, includes several FAILS before getting it right!):


Starting with the square pillow forms.  The size of my pillows were 18" (they were only $5.99 each at Ikea).  This tutorial is for making 18" envelope pillows but for other sizes go to Ashli's blog and she has listed the measurements for several different sizes.

First, measure and mark your fabric at 40" in length and 18" in width (this is for one pillow).  I had enough to make 3 pillows with a yard and a half of fabric (but I only made 2). 

Cut your fabric to size.
On the end of each long side, fold over the edges 1/4", pin in place and iron down to keep the fold.

Then sew a straight, simple hem.  Sure!  No Problem!
First attempt...FAIL!
 So I un-stitched it and tried again...FAIL!
I could not figure out why I couldn't keep it in a straight line...it felt like I had no control over it when it was moving through the machine.  So I sat and stared at the machine for awhile (queue in "Jeapardy" music).  Then it came to me...AHA!!
I had been sewing like this:
And I should have been sewing like this:
Go ahead and take a moment to laugh at me...I know I did (and I'm sure my mom did too!).
After I found the lever to place the presser foot down (I just 'googled' the name..hehe) I did so much better, if I do say so myself!  Finally...a straight line!  Yay!
Okay, now that you've hemmed both ends, you need to measure 11" in from each end and then fold at the mark each end towards the centre, there should be an overlapping of about 3 1/2".  Sew the sides together and iron.  Then turn it right side out and it will look like this:
 Stuff your pillow inside and voila!  You have some pretty awesome pillow cases.
They have certainly brightened up our very brown living room!  With some of the extra material I'm planning on making a runner for my coffee table.  In the photo below I was just trying it out to see how it would look, but it still needs to be hemmed...with lovely straight lines!
The name of the fabric I used is Waverly Parterre Grass and it is an indoor or outdoor fabric.


Pin It


You can find this post linked up at these awesome blogs:

Organize and Decorate Everything Tuesday To Do PartyToday's Creative Blog Tip Junkie handmade projects HookingupwithHoHSomewhat Simplemade in a dayshabby creek cottageThe 36th AvenueCatch a Glimpse ButtonThe Shabby NestHappy Go LuckyGrab My Button Serenity youThe Girl CreativeUndertheTableandDreaming I Heart Nap Time
Related Posts Plugin for WordPress, Blogger...